A Studio City homeowner recently chose Fixxed Garage Doors for a garage door opener installation. Their old chain drive opener had become too noisy and unreliable after over ten years of use. But like all mechanical devices, it started showing its age. The repair costs were adding up, and the chain drive mechanism was getting louder each time.
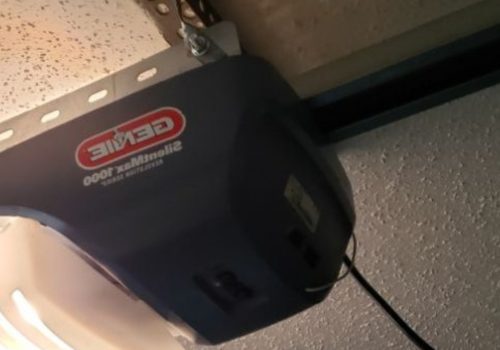
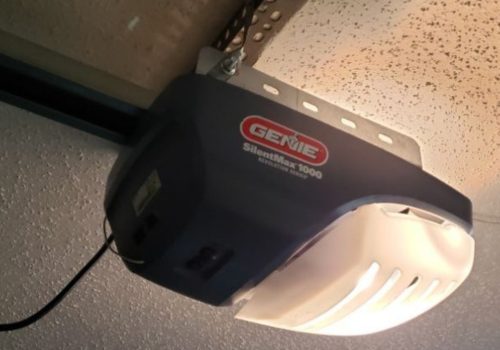
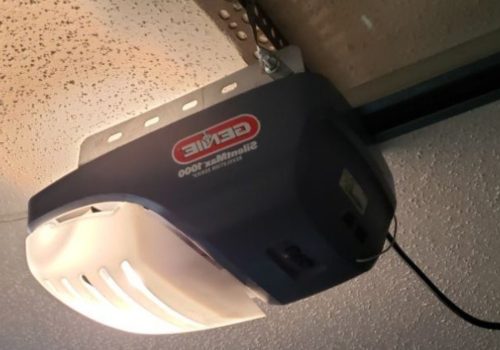
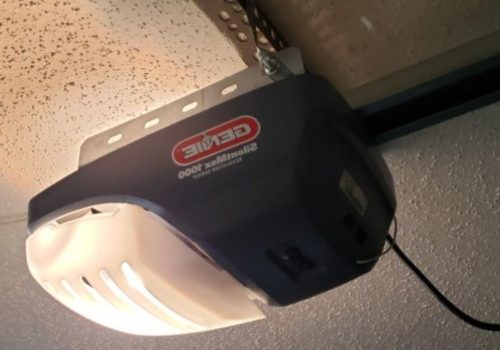
After considering options, the client chose a belt drive Genie garage door opener for its quiet and smooth operation. Unlike chain drives, belt-drive openers need less upkeep and endure Southern California’s weather better. This option was the best choice for their needs.
The Scope of Garage Door Opener Installation
Before any garage door opener upgrade, we always follow safety protocols. Here is how our team at Fixxed Garage Doors handled each step with precision and care:
Step 1: Preparation and Removal
First, we turned off the power to the old opener to keep everyone safe during the repair work. Then, we further examined the garage door system. We checked the tracks, rollers, and springs for any signs of wear.
Step 2: Checking the Garage Door Balance
A balanced door is crucial for the new opener. To check its balance, we detached the old opener from the door. Then, we adjusted the springs to help their new opener work better and last longer.
Step 3: Installing New Garage Door Opener Hardware
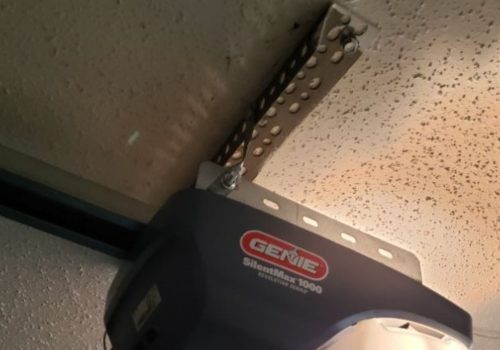
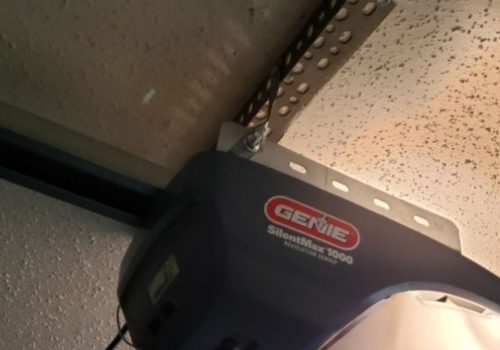
We placed a sturdy mounting board across the ceiling joists to support the new opener. Then, we attached new brackets to the garage door, making sure they were at the correct height and position.
Step 4: Assembling the New Garage Door Opener
Next, we assembled the main unit of the Genie garage door opener by attaching the rail to the motor unit. We ensured all parts were secure, as the belt drive system requires precise alignment for smooth, quiet operation.
Step 5: Mounting the Opener
We then lifted and secured the Genie garage door opener to the mounting board, ensuring the unit was level and straight. Next, we attached the door arm to the new bracket and connected the emergency release rope. This feature allows for manual door operation in case of a power outage.
Step 6: Installing Garage Door Safety Features
Safety sensors are very important. We mounted them six inches above the floor. Both sensors must line up perfectly. These sensors stop the door if anything blocks its path.
Step 7: Wiring and Power
With caution, we connected all the wires, including the power and safety sensors. We placed the wall button in an easy-to-reach spot. After that, we plugged in the opener and checked all the connections.
Step 8: Programming and Testing
Now, we set up the new Genie garage door opener by setting the door’s travel limits and adjusting the force settings for safe operation. We also updated the remote and keypad codes to ensure security.
Step 9: Final Safety Checks
We tested the auto-reverse feature several times to make sure the door goes back up if it hits something. With every test, we confirmed that the safety sensors work right.
Step 10: Client Training
Finally, we showed the client how everything works and guided them through all the features of their new opener. We also explained essential maintenance steps to keep it running smoothly. Then, we let them operate the opener, and they felt confident and comfortable using it.
The Garage Door Opener Installation Results
The difference was immediate and impressive. With the new opener in place, they could enter their garage without disturbing the household. Thanks to the belt drive system, they now enjoy reliable, smooth operation every time.
Garage Door Opener Near Me
Tired of dealing with a noisy, unreliable garage door opener? Fixxed Garage Doors has you covered. With years of experience serving Studio City and nearby areas, our team is ready to provide top-notch installations and repairs tailored to your needs. From quiet Genie openers to reliable repairs for your current system, our skilled technicians deliver quality service you can trust.
Enjoy free consultations, transparent pricing, and same-day garage door service for urgent issues. Take the first step to a hassle-free garage door experience. Call us now or fill out our service request form to book your appointment today.
Gallery


Fixxed Garage Doors
https://www.fixxedgaragedoors.com/
(323) 364-6764
Open 24 Hours / 7 Days a Week
Facebook
Recent Posts
-

Garage Door Installation Chestnut St, Glendale
Apr 07, 2025 -

Garage Door Repair Toluca Lake
Mar 17, 2025 -

Garage Door Maintenance North Hollywood
Mar 17, 2025 -

Garage Door Roller Replacement Burbank
Mar 09, 2025 -

Garage Spring Replacement Valley Village
Mar 03, 2025
Comments: